3D Modelling
Three-dimensional modelling or 3D computer graphics is a process when you develop mathematical representation of any 3D object, living or inanimate, by using specialised software.The finished product is called a 3D model.
Modelling software:
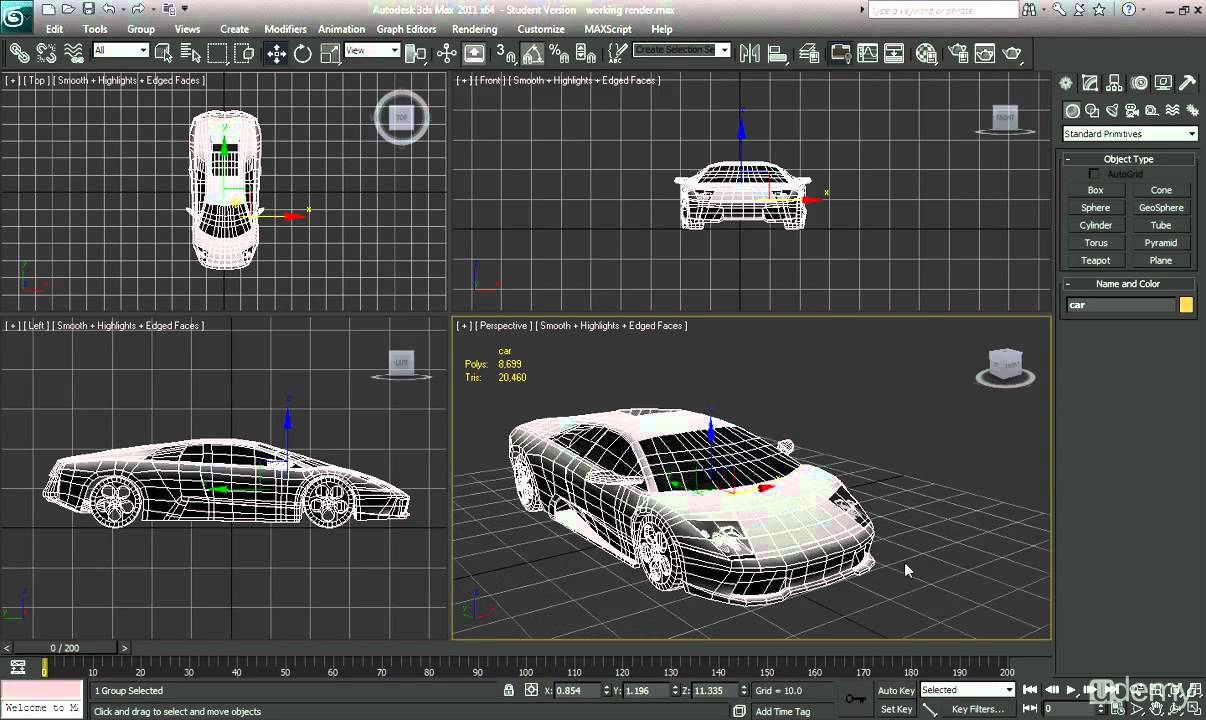
Maya is a 3D modelling software used a lot, most likely because it can do almost everything you need it to from modelling to render and rigging to animation
When it comes to games design, Maya is on par with 3ds max which is another 3D software.
Maya is the go to app for animators because it is a robust rigging and animation tool and a friendly workflow.
3ds Max has been known for its powerful modelling tools,allowing you to create complex 3D models with a very fast workflow and robust modifiers. 3ds max is a lot more user friendly and simpler to grasp if you're new.Unlike Maya, 3ds Max uses Z-up coordinate system so the Z axis points upwards.
Bryce is a 3D modelling,rendering and animation program specialising in fractal landscapes which allows new users to quickly create and render stunning 3D environments. Bryce combines exceptional power with an innovative interface for incredible ease of use. Add wildlife, people, props and more to your scenes via the DAZ Studio character plug-in in addition to terrain, water, sky, rocks, clouds, fog, vegetation, and architecture for which Bryce has long been the standard.
High poly is a polygon mesh in 3D that has relatively big amounts of polygons often occurring in animated movies and special effects.
Modelling for games
A polygon budget is defined by the game engine most games will have a poly budget,rendering method and the computer used can limit how many polys a game can have. A computer with low end specs will not be able to handle as many polygons as a high end spec PC. Low poly is used in games so the user can get the most frames out of cut-scenes and game-play because it has to be rendered in real-time.. Films can use high poly because the rendering does not need to be done in real-time therefore allowing more detail to be shown by using more polygons.
Hard surface and organic modelling
Hard surface is anything machined or man-made.
Organic modelling is any living thing such as humans,plants etc.
It is hard to define the differences between these many artists will define them differently and there is not a wrong answer.
one artist may say your sports car is an organic model because of its characteristics while another artist may insist its hard surface.
Modular modelling
The term modular modelling usually refers to the interchangeable components or modules in a model.The component may be a single equation, but typically it is a large component: for example, a plant sub model or a soil water sub model.
Unique Modelling
Unique modelling is when there is only one object in the scene that you will have to model once and that is it. Unlike modular its a object unique to the scene, in a office tables and chairs would be modular but a door or clock would be unique because their is just one of them.
Bump Mapping

Transfer Maps
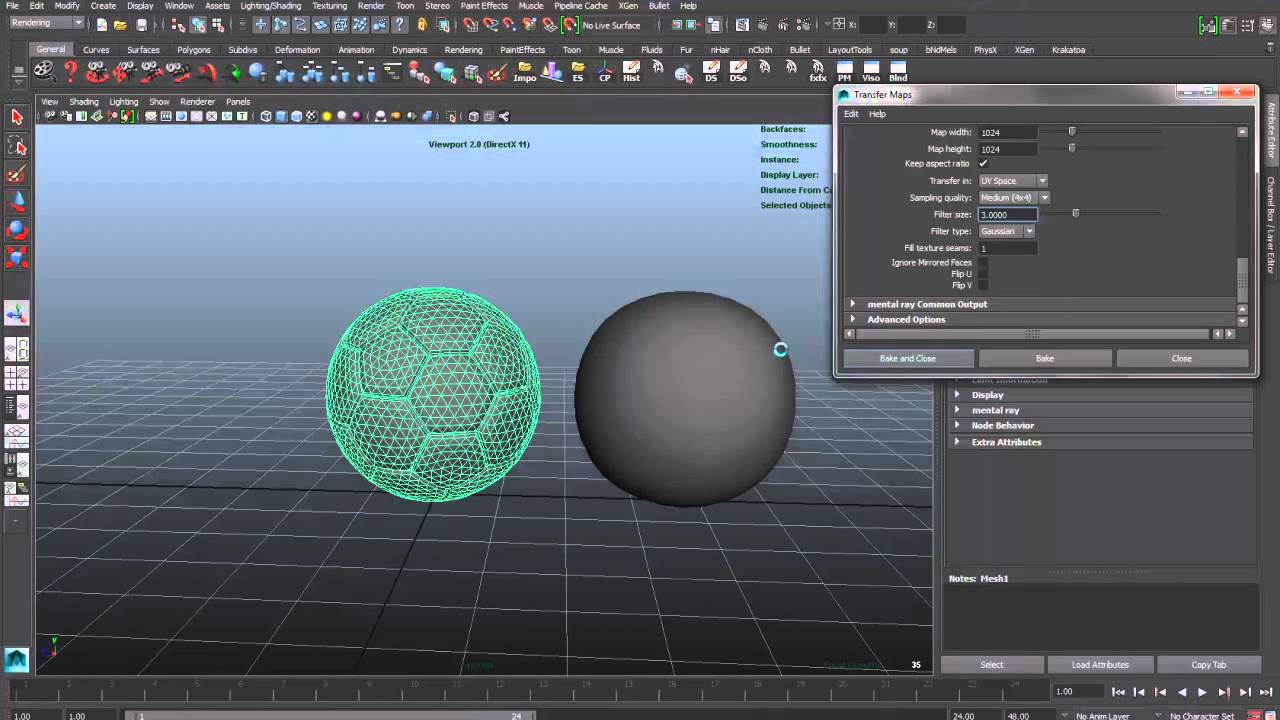
Transfer maps allow you to take one model and make another model look like that model through normal maps,displacement maps and bump maps.

Chamfer is cutting away a right angled edge to make a symmetrical edge.
Bevel is a sloped edge that is not perpendicular to the faces of an object.Bevel is more a common term out of bevel and chamfer. Although these two terms are often interchangeable,a distinction is made between them in technical situations.
________________________________________________________________________
UV Mapping
UV mapping is a 3D process of projecting a 2D image onto a 3D model's surface for texture mapping.UV texturing permits polygons that make up a 3D object to be painted with colour from an image. The image is called a UV texture map, but it's just an ordinary image. The UV mapping process involves assigning pixels in the image to surface mappings on the polygon, usually done by copying a triangular shaped piece of the image map and pasting it onto a triangle on the object. UV is an alternative to projection mapping (e.g. using any pair of the models X,Y,Z co-ordinates, or any transformation of the position) ; it only maps into a texture space rather than into the geometric space of the object. But the rendering computation uses the UV texture co-ordinates to determine how to paint the three-dimensional surface.
Step-by-Step on UV mapping.
UV Tiles
Uv layout is an important part of texturing a model. Uv mapping operations automatically fit UV's within the default 0 to 1 texture space,but working with one texture map can make it difficult to equally distribute detail to every area of your model. You can work with Uv tiles outside of the default texture space applying a different texture to each tile maximising the resolution of your texture. the resolution of the packing grid used to place UV shells next to each other in the UV space. Higher values are slower, but produce better results when there are a lot of smaller shells. Default value is 256.
_
_______________________________________________________________________
Texture Mapping

Is a method for defining high frequency detail.surface texture or colour information on a computer generated graphic known as a 3D model.Texture mapping is commonly known as diffuse mapping simply wrapping and mapping 2D textures onto a 3D model.
When texture mapping the model's surface into the texture space, the texture map is visible in its undistributed form. UV unwrapping tools typically provide a view in texture space for manual editing of texture co-ordinates. Some rendering techniques such as subsurface scattering may be performed approximately by texture-space operations.
_________________________________________________________________________
Unwrapping Software
Unfold3D: is a software used to unwrap 3D models.

Ultimate Unwrap 3D
Ultimate Unwrap 3D is a speciality Windows UV mapping tool for unfolding and unwrapping 3D models. It includes an easy-to-use UV co-ordinate editor, a standard set of UV mapping projections such as planar, box, cylindrical, and spherical, as well as advanced UV mapping projections such as face UV mapping, camera UV mapping, and unwrap UV faces for those difficult to map areas on a model. It is ideal for artists, professionals, modellers, game developers, and hobbyists, and easy enough to use for all levels of computer users.
Zbrush
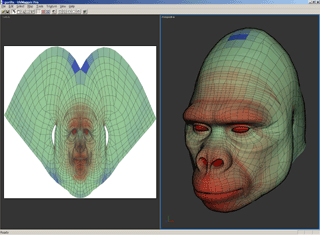
ZBrush is a digital sculpting tool that combines 3D/2.5D modelling, texturing and painting. It uses a proprietary pixel technology which stores lighting, colour, material, and depth information for all objects on the screen. The main difference between ZBrush and more traditional modelling packages is that it is more for sculpting.

UV Mapper
Is a standalone texture mapping utility for the creation of UV coordinates for n-sided polygonal 3D models.
Knald is a ground breaking, standalone, ultra-fast GPU powered solution for generating incredibly high quality textures from high to low polygonal meshes via The Baker or any 2d source texture, such as photographs & height maps, from the real-time colour to normal mode & the normal & height Maps provided by The Integrator.
It provides the tools you need to reduce iteration times, increase the quality of your project & improve the productivity of your artists by integrating seamlessly into current physically based pipelines with Knald’s next generation feature set.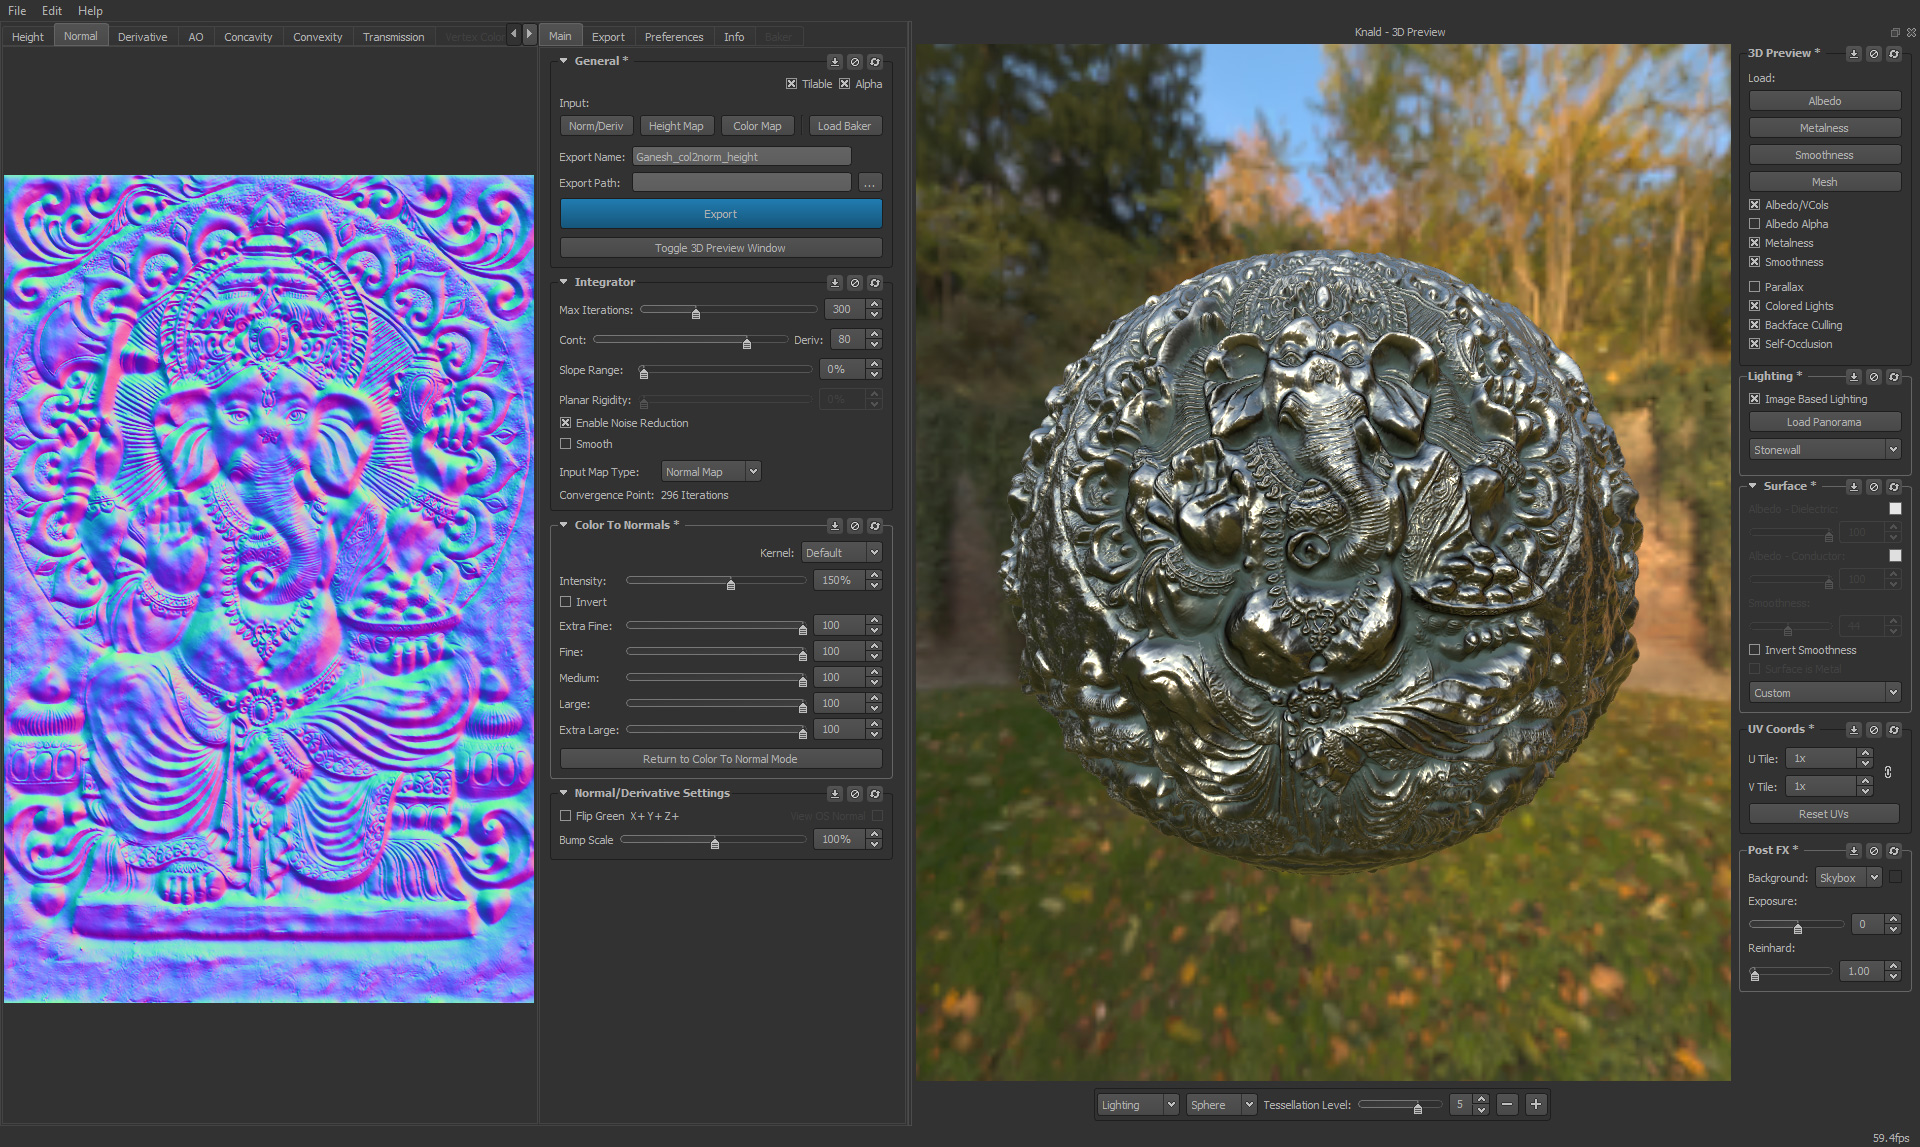
Asking For Permission
Modelling software:
Maya is a 3D modelling software used a lot, most likely because it can do almost everything you need it to from modelling to render and rigging to animation
When it comes to games design, Maya is on par with 3ds max which is another 3D software.
Maya is the go to app for animators because it is a robust rigging and animation tool and a friendly workflow.
3ds Max has been known for its powerful modelling tools,allowing you to create complex 3D models with a very fast workflow and robust modifiers. 3ds max is a lot more user friendly and simpler to grasp if you're new.Unlike Maya, 3ds Max uses Z-up coordinate system so the Z axis points upwards.

Bryce is a 3D modelling,rendering and animation program specialising in fractal landscapes which allows new users to quickly create and render stunning 3D environments. Bryce combines exceptional power with an innovative interface for incredible ease of use. Add wildlife, people, props and more to your scenes via the DAZ Studio character plug-in in addition to terrain, water, sky, rocks, clouds, fog, vegetation, and architecture for which Bryce has long been the standard.
 |
| This is a Landscape rendered using Bryce. |
 |
| This is Bryce's User Interface. |
Polygons
Low poly is a polygon mesh in 3D that has a relatively small number of polygons.These meshes occur in real-time applications such as games.Objects made using a small amount of polygons appear blocky and have less detail.High poly is a polygon mesh in 3D that has relatively big amounts of polygons often occurring in animated movies and special effects.
Modelling for games
A polygon budget is defined by the game engine most games will have a poly budget,rendering method and the computer used can limit how many polys a game can have. A computer with low end specs will not be able to handle as many polygons as a high end spec PC. Low poly is used in games so the user can get the most frames out of cut-scenes and game-play because it has to be rendered in real-time.. Films can use high poly because the rendering does not need to be done in real-time therefore allowing more detail to be shown by using more polygons.
Hard surface and organic modelling
Hard surface is anything machined or man-made.
Organic modelling is any living thing such as humans,plants etc.
It is hard to define the differences between these many artists will define them differently and there is not a wrong answer.
one artist may say your sports car is an organic model because of its characteristics while another artist may insist its hard surface.
Modular modelling
The term modular modelling usually refers to the interchangeable components or modules in a model.The component may be a single equation, but typically it is a large component: for example, a plant sub model or a soil water sub model.
Unique Modelling
Unique modelling is when there is only one object in the scene that you will have to model once and that is it. Unlike modular its a object unique to the scene, in a office tables and chairs would be modular but a door or clock would be unique because their is just one of them.
Bump Mapping
Bump mapping is a technique in computer graphics for simulating bumps and wrinkles on the surface of an object without adding additional polygons,using this technique one can make a low poly object look like it has detail without creating poly lag.

Displacement Mapping
Displacement mapping is an alternative computer game's technique in contrast to bump mapping using a texture or height map to cause an effect where the actual geometric position of points over the textured surface is displaced it gives a surface great depth and detail.
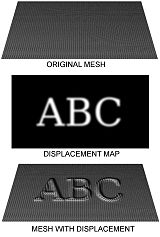 |
| Displacement mapping with a mesh. |
Normal Mapping
In 3D computer graphics normal mapping is a technique used for faking lighting of bumps and dents.it is used to add more details without using more polygons.
 |
| Normal mapping used to re-detail simplified meshes. |
Transfer Maps
Transfer maps allow you to take one model and make another model look like that model through normal maps,displacement maps and bump maps.
Texture Baking
Is the process of transferring details from one model to another.The baking tool starts a certain distance out from the model which is usually a low resolution model for game use and cast rays inwards towards another model, usually a high resolution sculpt.
Chamfer
Chamfer is cutting away a right angled edge to make a symmetrical edge.
 |
| Bevel is the top one Chamfer is the bottom one |
Bevel
Bevel is a sloped edge that is not perpendicular to the faces of an object.Bevel is more a common term out of bevel and chamfer. Although these two terms are often interchangeable,a distinction is made between them in technical situations.
Bevel is usually made for safety issues.
________________________________________________________________________UV Mapping
UV mapping is a 3D process of projecting a 2D image onto a 3D model's surface for texture mapping.UV texturing permits polygons that make up a 3D object to be painted with colour from an image. The image is called a UV texture map, but it's just an ordinary image. The UV mapping process involves assigning pixels in the image to surface mappings on the polygon, usually done by copying a triangular shaped piece of the image map and pasting it onto a triangle on the object. UV is an alternative to projection mapping (e.g. using any pair of the models X,Y,Z co-ordinates, or any transformation of the position) ; it only maps into a texture space rather than into the geometric space of the object. But the rendering computation uses the UV texture co-ordinates to determine how to paint the three-dimensional surface.
Step-by-Step on UV mapping.
 |
| We created a box with the dimensions 65,80,40 |
 |
| Convert it to an editable poly |
 |
| In the modifiers list click unwrap UVW |
 |
| Open UV editor |
 |
| Then go to mapping,Flatten mapping set spacing to 0 then click ok |
 |
| Then select each piece and move it if you select edge tool and click an edge the connected one goes blue |
 |
| Then select each edge and go to tools and stitch selected ,repeat until full net |
 |
| Move and resize so it fits boundaries. |
 |
| Then go tools render UVW template and render it |
 |
| Then save it as a jpeg and open in Photoshop |
 |
| Then add your textures to it. |
 |
| This is my crate scene rendered. |
UV Tiles
Uv layout is an important part of texturing a model. Uv mapping operations automatically fit UV's within the default 0 to 1 texture space,but working with one texture map can make it difficult to equally distribute detail to every area of your model. You can work with Uv tiles outside of the default texture space applying a different texture to each tile maximising the resolution of your texture. the resolution of the packing grid used to place UV shells next to each other in the UV space. Higher values are slower, but produce better results when there are a lot of smaller shells. Default value is 256.
_
_______________________________________________________________________
Texture Mapping

Is a method for defining high frequency detail.surface texture or colour information on a computer generated graphic known as a 3D model.Texture mapping is commonly known as diffuse mapping simply wrapping and mapping 2D textures onto a 3D model.
When texture mapping the model's surface into the texture space, the texture map is visible in its undistributed form. UV unwrapping tools typically provide a view in texture space for manual editing of texture co-ordinates. Some rendering techniques such as subsurface scattering may be performed approximately by texture-space operations.
_________________________________________________________________________
Unwrapping Software
Unfold3D: is a software used to unwrap 3D models.

Ultimate Unwrap 3D
Ultimate Unwrap 3D is a speciality Windows UV mapping tool for unfolding and unwrapping 3D models. It includes an easy-to-use UV co-ordinate editor, a standard set of UV mapping projections such as planar, box, cylindrical, and spherical, as well as advanced UV mapping projections such as face UV mapping, camera UV mapping, and unwrap UV faces for those difficult to map areas on a model. It is ideal for artists, professionals, modellers, game developers, and hobbyists, and easy enough to use for all levels of computer users.
Zbrush
ZBrush is a digital sculpting tool that combines 3D/2.5D modelling, texturing and painting. It uses a proprietary pixel technology which stores lighting, colour, material, and depth information for all objects on the screen. The main difference between ZBrush and more traditional modelling packages is that it is more for sculpting.

UV Mapper
Is a standalone texture mapping utility for the creation of UV coordinates for n-sided polygonal 3D models.

Knald
Knald is a ground breaking, standalone, ultra-fast GPU powered solution for generating incredibly high quality textures from high to low polygonal meshes via The Baker or any 2d source texture, such as photographs & height maps, from the real-time colour to normal mode & the normal & height Maps provided by The Integrator.
It provides the tools you need to reduce iteration times, increase the quality of your project & improve the productivity of your artists by integrating seamlessly into current physically based pipelines with Knald’s next generation feature set.

Before we use these pieces we must get permission off of who created it.We got all of our images from artstation because its easy to contact the artist by commenting on the art.


No comments:
Post a Comment